
Now here is a slight variation to create a bag with a longer strap and a little more of a 'purse' shape.

Repeat Steps 4-8 above to create the body of the bag, leaving out the handles.
To add a decorative ribbon or trim I measured down 2.5" from the top and drew a line with an erasable fabric pen.


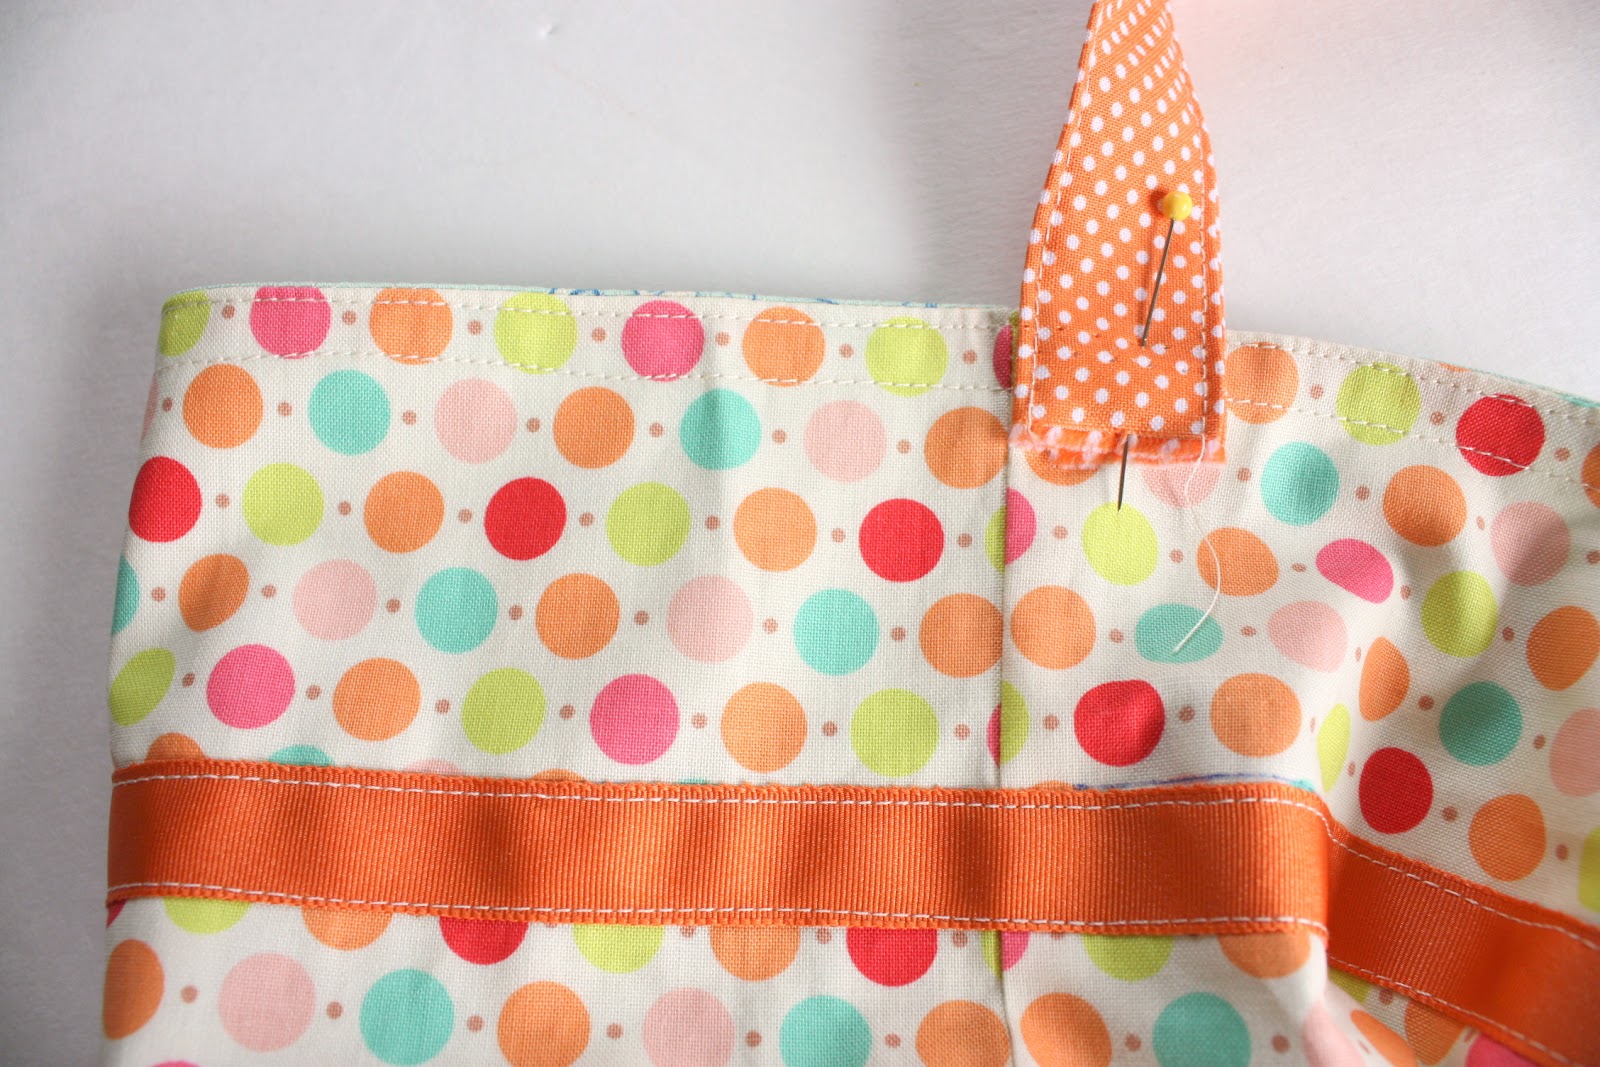
Pin the end of the strap about an inch down and directly next to one of the side seams on the outside of the bag.

 Seam should be on the inside edge of the strap with equal parts of the bag holding the strap end in place.

When the bag is done, you can always add a cute embellishment of some kind to 'bling-it-up' if you want.
And that's it! Again, once you've made one, you can whip out a bunch more in no time. They're great gifts to have on hand for all those little-girl Christmas or birthday gifts. (Or you could make a 'satchel' version for boys too!)
Be sure to visit the other guest-bloggers for Christmas in July to see the awesome ideas and tutorials they have for you!
http://www.diaryofaquilter.com/2012/07/easy-fat-quarter-bag-tutorial.html

 留言列表
留言列表

